samedi 13 décembre 2014

Heidi Coffee Table, new version / Table basse nouvelle version

Is everybody getting into the Christmas spirt? This week I finished a present for a friend's sister... a new version of my Heidi coffee table. With a nice stained wood top and white washed legs. It's one of my favorite renovation to work on. I find the bear wood top brings warmth to any room and I just love the way the white paint emphasizes all the details of the moulding and the imperfections of the wood. It gives this piece so much character. What do you think?

Vous sentez Noël approcher? Cette semaine j'ai fini un cadeau pour la soeur d'une amie... une nouvelle version de Heidi ma table basse. Avec un joli plateau en bois brut et des pieds blancs cérusés. C'est une de mes rénovations préférée à faire. Je trouve que le bois brut apporte de la chaleur à une pièce et j'adore la façon dont la peinture blanche révèle les moulures et même les imperfections. Cela lui donne tellement de caractère. Qu'en pensez-vous?  


Linking up to:

jeudi 4 décembre 2014

Easy Peasy DIY shelves/ Trop facile les étagères


Christmas is around the corner and all the boys and girls are getting excited about Santa's visit. But where are all those toys going to go?! Well I've got organized this year and built my little one, with minimal expense, some shelves for his books, toys, teddies and everything Santa might bring him… if he's a good boy!
Noël arrive à grands pas et tous les enfants se réjouissent de la visite du père Noël…mais où va-t-on pouvoir mettre tous ces jouets?! Et bien cette année, je suis organisée. J'ai construit pour mon petit bonhomme, à moindre prix, des étagères pour ces livres, jouets, nounous et tout ce que le père Noël va lui apporter… enfin si il est sage!

With just a few cheap pieces of wood and basic tool you can make a nice set of shelves in 5 steps.
Avec juste quelques morceaux de bois pas cher et des outils de bases on peut faire de jolies étagères en 5 étapes.


You need: 3 planks 140x25cm, 1 plank 107x25cm, 3 long pieces of wood 2cm thick 140cm long, 6 long pieces of wood 2cm thick 21cm long, white paint, screws, rawlplugs, small brackets (3cm)
Pint brush, level meter, drill, screw driver, hammer.
Materiel: 3 planches de 140x25cm, 1 planche 107x25cm,  3 tasseaux de 140cm de longueur, 6 tasseaux de 21cm de longueur, peinture blanche, visses, chevilles, petites équerres (3cm).
Outils: pinceau, niveau, perceuse, tournevis, marteau.


I bought 4 planks of 140cm long, 25 cm wide and 2cm thick. I cut the length of one plank to be 107cm long. Then I painted them all white. I cut my long pieces of wood to the measurements above and painted them white. Then with the drill I drilled several holes in each pieces of wood (see in red in the schema above)
Tout d'abord j'ai acheté 4 planches de 140cm de longueur, 25cm de largeur et  2cm d'épaisseur. J'ai choisi du lamellé de pin, l'option la plus économique. J'ai coupe une planche pour qu'elle fasse 107cm de long. Je les ai peintes en blanc des 2 côtés et sur les arrêtes.
J'ai aussi acheté 3 tasseaux que j'ai coupés dans les dimensions ci-dessus puis peints en blanc. Avec la perceuse j'ai fait plusieurs trous par tasseau pour les vis (voir en rouge sur le schéma).


With the level meter I chose the position of the shelves to make sure they are leveled and regularly spaced (watch out for electricity sockets). I marked the position of the long piece of wood holding the shelf by putting a pen in the holes for the screws. 
Avec le niveau j'ai calculé l'emplacement de chaque étagère pour qu'elles soit droites et régulières (j'ai du prendre en considération les prises électriques). J'ai noté l'emplacement du tasseau au dessous de chaque planche en enfonçant un crayon dans les trous pour les vis pour marquer le mur.

I drilled holes in the wall on the markings. With a hammer I put into each hole a rawlplug. I screw in the long pieces of wood.
J'ai percé le mur à la perceuse sur les repères que je venais de faire. Avec le marteau j'ai enfonçé une cheville dans chaque trou.  Avec des vis j'ai fixé le tasseau au mur.

I did the same for the small pieces of wood for the right wall.
J'ai fait de même pour les tasseaux du côté droit.

I hammered the left plank into the long pieces of wood with small nails (I had to cut the plank to make space for the plinth). I screwed into the plank the small pieces of wood aligned with the large ones on the wall. I strengthen it with small brackets.
J'ai fixé la planche du côté gauche en la coulant au tasseaux du mur. (il a fallu que je fasse une encoche pour la plinthe) Ensuite j'y ai fixé dessus les petits tasseaux en les vissant directement dans le bois de la planche. J'ai sécurisé avec des petites équerres.

Now I have the base of my shelves. All I need is to put the last 3 planks in place and hammer them into the long pieces of wood with small nails at regular intervals. Then I finish securing it in place with small brackets.
Ca y est j'ai la base de mes étagères. Il ne reste plus qu'à posé les planches pour faire les étagères et les fixer avec des petites équerres, et finir avec des petites pointes bien enfoncées à intervalles réguliers.

I finished by touching up with paint (on the brackets too). Now my lil man can tidy up his room!
Pour finir j'ai fait quelques retouches de peintures (j'ai notamment peint les équerres pour les rendre plus discrètes). Et voilà, mon bonhomme peut commencer à ranger sa chambre!  


Savvy Southern Style


   WORK IT WEDNESDAY


mercredi 12 novembre 2014

My little french cabinet/ Mon petit vaisselier


Let me introduce you to my favorite piece since we moved into our new house. It's a little french cabinet that was forgotten in an attic for a few decades. When I saw it I realised how beautiful it could look. Like in that 80's movie when the plain secretary transforms into a bomb by letting her hair down and taking off her glasses. This cabinet only needed a bit of paint and new knobs to become the star of my dinning room.
Laissez-moi vous présenter mon meuble préféré depuis qu'on a emménagé dans notre nouvelle maison. C'est un petit vaisselier qui a été oublié dans un grenier pendant quelques décennies. Quand je l'ai vu j'ai tout de suit réalisé à quel point il pouvait être beau. Comme dans un film des années 80, quand cette quelconque secrétaire se transforme en bombe en défaisant son chignon et en enlevant ses lunettes. Ce meuble avait seulement besoin d'un coup de peinture et de nouvelles poignées.


So I lightly sanded the piece down and painted it with 2 coats of white latex paint. I lightly sanded it down again to give it a distressed look. Then I applied a coat of clear varnish to seal it. But I came upon a bleed through problem at this point. The paint job was perfect until the varnish coat which gave yellow stains. So I painted and sanded again, and this time I used 3 coats of clear wax to seal it. I painted the inside of the hutch blue and changed the knobs. These knobs are ceramic, they are hand made in germany by Knaufmanufaktur. They have an amazing selection of knobs to customize any piece.
J'ai légèrement poncé le meuble et peint deux couches de peinture latex blanche. Je l'ai de nouveau poncé pour lui donné cet aspect usé. Puis j'ai passé une couche de vernis transparent pour le protéger. Mais c'est à ce moment là que sont apparues des tâches jaunes. J'ai donc à nouveau passé une couche de peinture blanche et cette fois j'ai fini par 3 couches de cire transparente. J'ai peint l'intérieur de la vitrine en bleu et j'ai changé les poignées. Ces poignées faites main en céramiques proviennent de Knaufmanufaktur. Ils ont une belle sélection de poignées pour customiser n'importe quel meuble. 


I am thrilled with the result, this cabinet looks great in my dinning room, and I get to display my favorite pieces of vintage china, some wedding presents and my grand mother's champagne bucket.
Je suis ravie du résultat, ce vaisselier va à merveille dans ma salle à manger, et je peux y présenter ma vaisselle préférée, des cadeaux de mariage et le sceau à champagne de ma grand mère. 


Photobucket

http://minettesmaze.blogspot.fr So excited to introduce the Found & Foraged Instagram Challenge #foundforaged alongside my friends @laurairion & @kdall070! The most beautiful homes are ones that are curated over time and filled with things we've had to search high and low for, those items that have a backstory, or things we've lovingly handcrafted. Tag your finds, items you've thrifted, made, DIYd, loved, anything that you think represents the Found & Foraged lifestyle. We want to celebrate this concept of creatively decorating, dressing & living and will each regram our favorites every Saturday morning! And, if you have a blog, hop onto our Found & Foraged Linky Party each Saturday evening at 8PM CST. We can't wait to see all of your beautiful #foundforaged finds! 
WORK IT WEDNESDAY 

 
Savvy Southern StyleBy Stephanie Lynn
The Turquoise Home
Bouquet of Talent

http://www.diybydesign.blogspot.fr/
stonegableblog
The feathered nest @FrenchCountryCottage
LouLou Girls Fabulous Linky Party
missmustardseed.com
Meatloaf and Melodrama
The Dedicated House

The Dedicated House

The Dedicated House


mercredi 5 novembre 2014

A statement wall / Décorer un mur


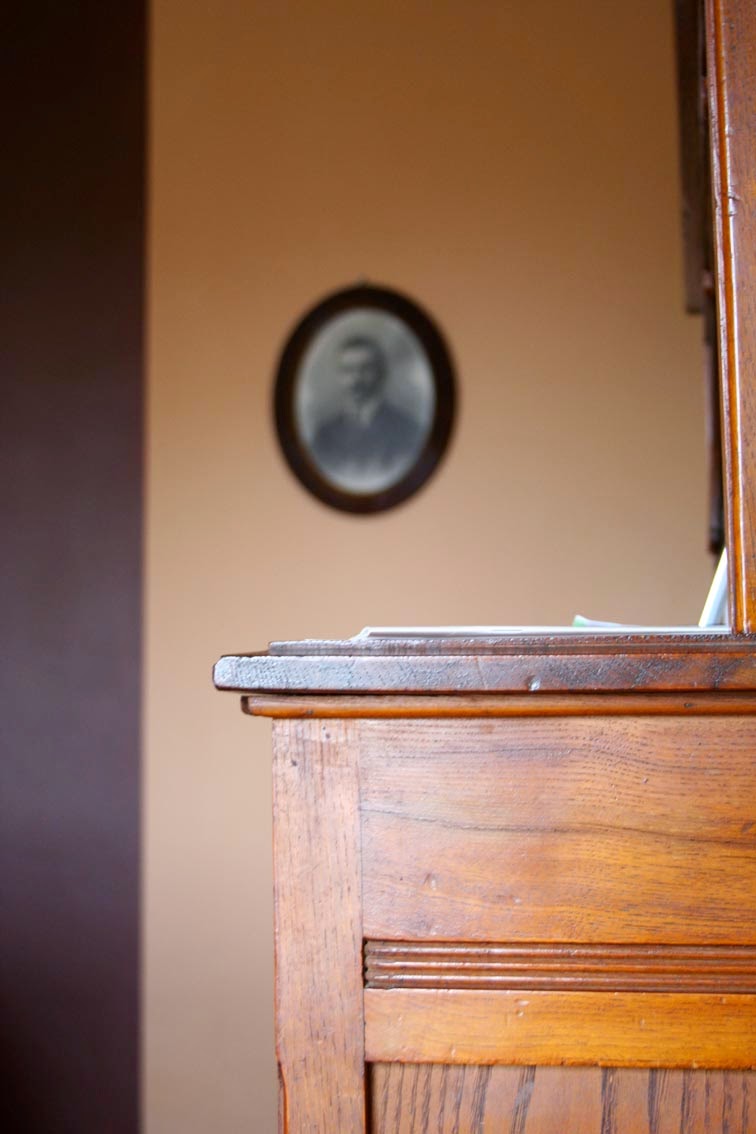
My father has a lovely apartment in the north of Italy. It's been in the family for several generation, and needed to be brought into the 21st century with a little restyling. I wanted to give the living room a fresher look, but maintaining all the furniture and the colour scheme intact. The couch was against a wall, with two oval photo frames, but this wall looked very plain. Last holiday the children got that wall dirty and that was the final push I needed to get my paint brush out!
Mon père a un appartement dans le nord de l'Italie. Cet appartement est dans la famille depuis plusieurs générations et il avait besoin d'être ramené au goût du jour avec un léger relooking. Je voulais rafraîchir le salon sans changer les couleurs ou les meubles. Le canapé était contre un mur, avec deux portraits ovales, mais ce mur semblait bien vide. Pendant les dernières vacances les enfants ont sali ce mur et ça a fini de me convaincre de sortir mon pinceau!


So I decided to make this wall a statement wall, but with minimum work (we are on holidays after all!) and minimum change. Just one strip of paint and a mirror. I found an old mirror with a lovely curvy shape which reminded me of the photo frames. I painted the wooden rim white to match the sofa.
Alors j'ai décidé de changer ce mur et d'en faire un atout dans la décoration de la pièce, mais sans trop d'effort (on est en vacances après tout!) ni de changement. Juste un pan de peinture et un miroir. J'ai trouvé un vieux miroir avec une jolie forme arrondie qui me rappelait les cadres des portraits. J'ai peint le cadre en bois du miroir en blanc s'assortir avec le canapé.


I chose a colour that would contrast the actual colour of the wall, so a much darker and richer colour. I matched a dark plum colour from the fabric of the arm chairs in the room. I drew a straight line on the wall on either side of the sofa using a ruler with a level indicator, then lined some duct tape to delimitate the area to paint, then got to work with my roller. The paint I used was a tick monolayer so it was done in about an hour. I removed the duct tape and finished by touching up little details with a small brush.
J'ai choisi une couleur qui contraste la couleur actuelle du mur, une teinte plus riche et plus foncée. J'ai choisi une teinte similaire à la couleur prune foncée du tissu des fauteuils dans la pièce. J'ai tracé une ligne droite des deux côtés du canapé en utilisant une règle avec un indicateur de niveau, puis j'ai collé un ruban adhésif spécial pour délimité la son à peindre et je me suis mise au travail avec un rouleau. J'ai utilisé une peinture monocouche donc en une heure c'était fait. J'ai enlevé le ruban adhésif et fini au petit pinceau quelques détails.   


I placed the photo frames on either sides of the wall and the mirror in the center of the accent wall.
J'ai placé les cadres de chaque côté du mur et le miroir au milieu.

Voilà, the room now feels more modern and beautiful. The rich plum colour emphasises the nice wooden furniture and the crystal chandelier. The vertical strip of colour also emphasizes the hight of the ceiling. The mirror reflects the light and gives depth to the room. And the sophistication of this accent wall gives a better cohesion between all the vintage things in this room.
It was done in one afternoon and everybody loves it, mission accomplished!
Voilà, la pièce semble plus moderne et élégante. L'intensité de la couleur prune met en valeur les meubles anciens en bois et le chandelier en cristal. La verticalité de la couleur foncé souligne la hauteur de plafond. Le miroir reflète la lumière et donne plus de profondeur à la pièce. Et puis l'effet sophistiqué de panneau de couleur donne une nouvelle cohésion entre tous les objets vintage divers dans la pièce.  
Ça n'a pris qu'une après-midi et tout le monde est satisfait, c'est mission accomplie!


The Shabby Nest

Mod Vintage Life

By Stephanie Lynn